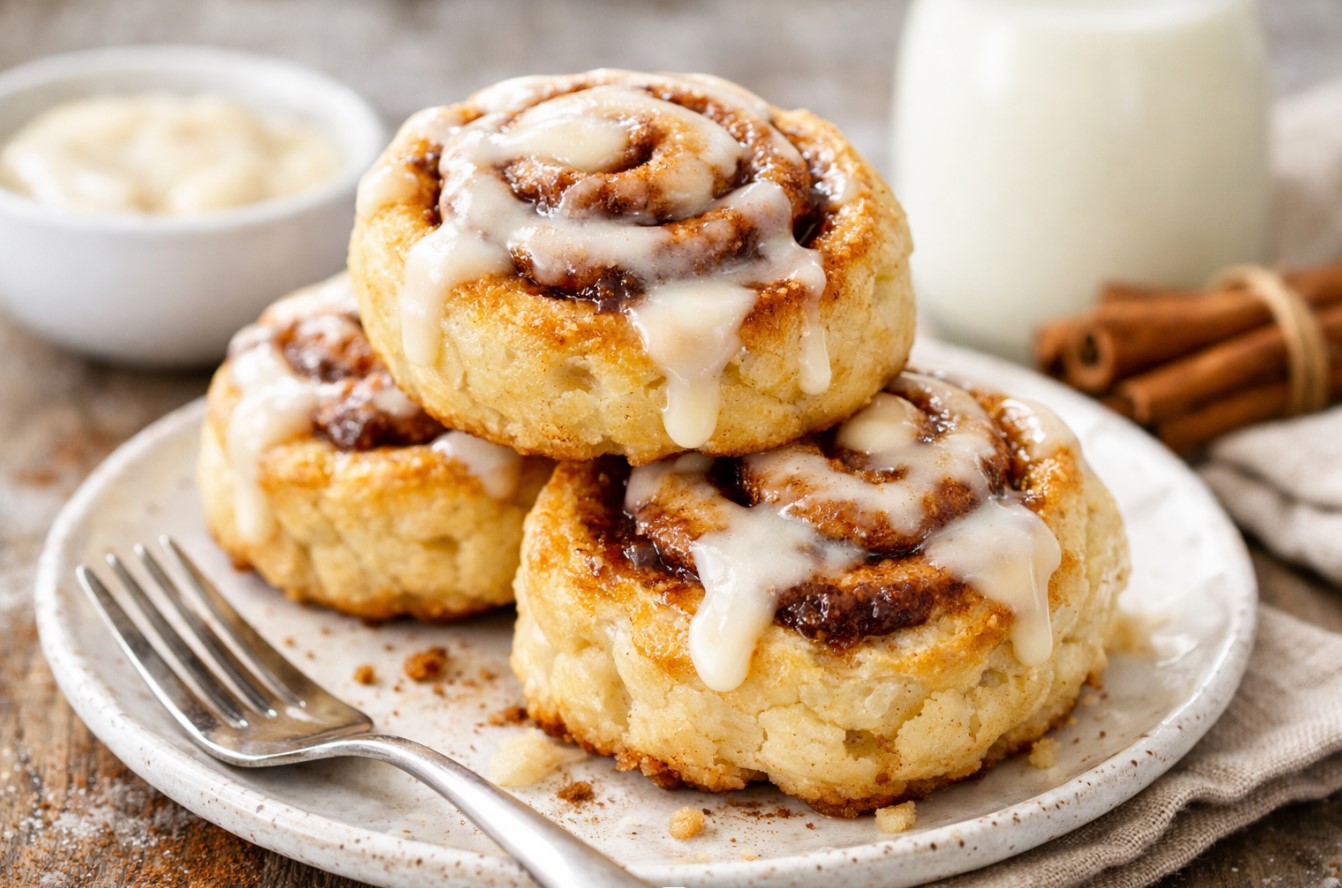
Some recipes don’t just taste good—they change your standards forever. Cinnamon rolls are one of those. Because once you’ve had a pan of warm, homemade rolls fresh from the oven (with that buttery cinnamon swirl and frosting melting into the cracks), it’s really hard to go back to the sad, dry bakery ones that somehow cost $6 each.
This Homemade Cinnamon Rolls – Soft, Fluffy & Better Than Bakery recipe is the kind of baking project that feels impressive but is actually very doable. The dough is rich and tender, the filling is gooey and cinnamon-heavy in the best way, and the frosting is thick, creamy, and dangerously easy to “taste test” with a spoon.
These rolls are perfect for weekend breakfasts, holiday mornings, brunch with friends, or anytime you want your kitchen to smell like pure comfort. And yes—this recipe is beginner-friendly. I’ll walk you through exactly what the dough should look like and how to avoid the most common cinnamon roll mistakes.
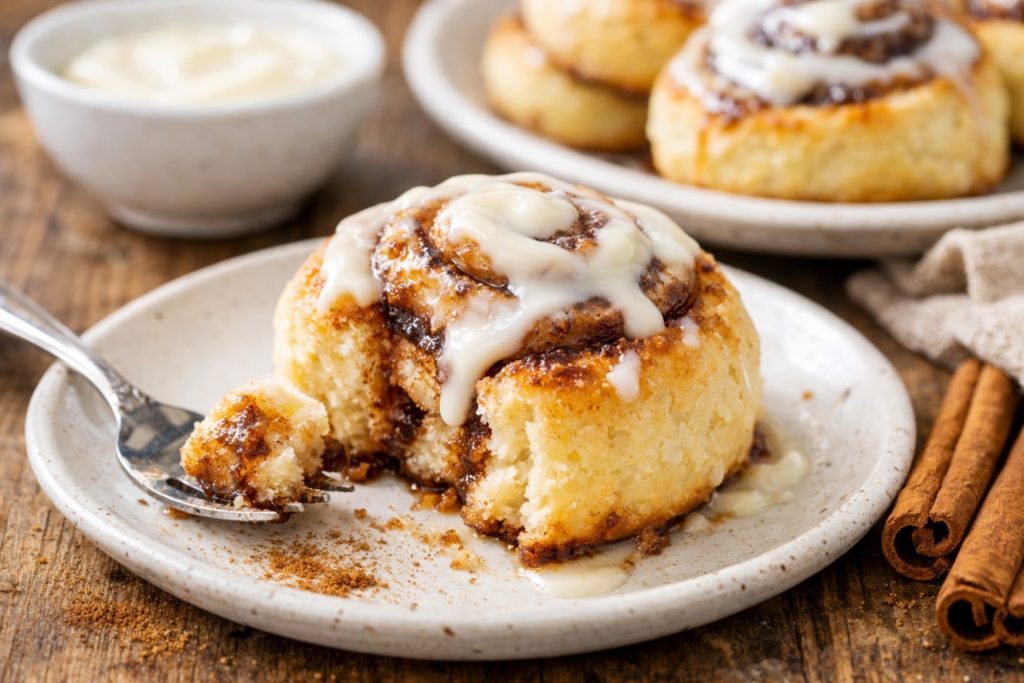
Once you pull them out of the oven and watch the frosting melt into the warm spirals, you’ll get it. This is the cinnamon roll recipe you keep forever.
Why You’ll Love This Recipe
- Soft, fluffy texture with a rich buttery bite
- Gooey cinnamon filling in every single swirl
- Better than bakery rolls (and way fresher)
- Easy to make ahead for stress-free mornings
- Perfect for holidays, brunch, and weekend baking
- Beginner-friendly with clear dough cues
- Freezer-friendly for future cravings
- Cream cheese frosting takes it over the top
Essential Tools and Equipment
- Large mixing bowl
- Stand mixer with dough hook (optional but helpful)
- Measuring cups and spoons
- Rolling pin
- 9×13-inch baking dish
- Sharp knife or unflavored dental floss
- Silicone spatula
- Pastry brush
- Clean towel or plastic wrap
Importance of Each Tool
Large mixing bowl – Gives you space to mix without flour explosions.
Stand mixer – Makes kneading easier, especially if you bake often.
Measuring tools – Cinnamon roll dough needs accuracy for best texture.
Rolling pin – Helps create an even rectangle so the rolls bake evenly.
Baking dish – Keeps rolls snug so they stay soft on the sides.
Knife/floss – Slices cleanly without squishing the dough.
Spatula – Makes frosting smooth and easy to spread.
Pastry brush – Spreads butter evenly across the dough.
Towel/wrap – Keeps dough moist while rising.

Ingredients
Equipment
Method
- In a large bowl, mix flour, sugar, salt, and yeast.
- Add warm milk and mix until a rough dough forms.
- Add softened butter and knead 5–7 minutes until smooth and soft.
- Shape dough into a flat rectangle, wrap, and refrigerate 1–2 hours.
- Pound cold butter between parchment into a 6×8 inch rectangle.
- Roll dough, place butter in center, fold like a letter and seal.
- Roll into a long rectangle and fold into thirds. Chill 30–45 minutes.
- Repeat rolling and folding two more times, chilling between each.
- Chill at least 1 hour or overnight.
- Roll dough 1/4 inch thick and cut into triangles.
- Roll from wide end to tip and shape into crescents.
- Proof 1.5–2 hours until puffy.
- Brush with egg wash.
- Bake at 400°F (200°C) for 18–22 minutes until golden.
- Cool 10 minutes before serving.